


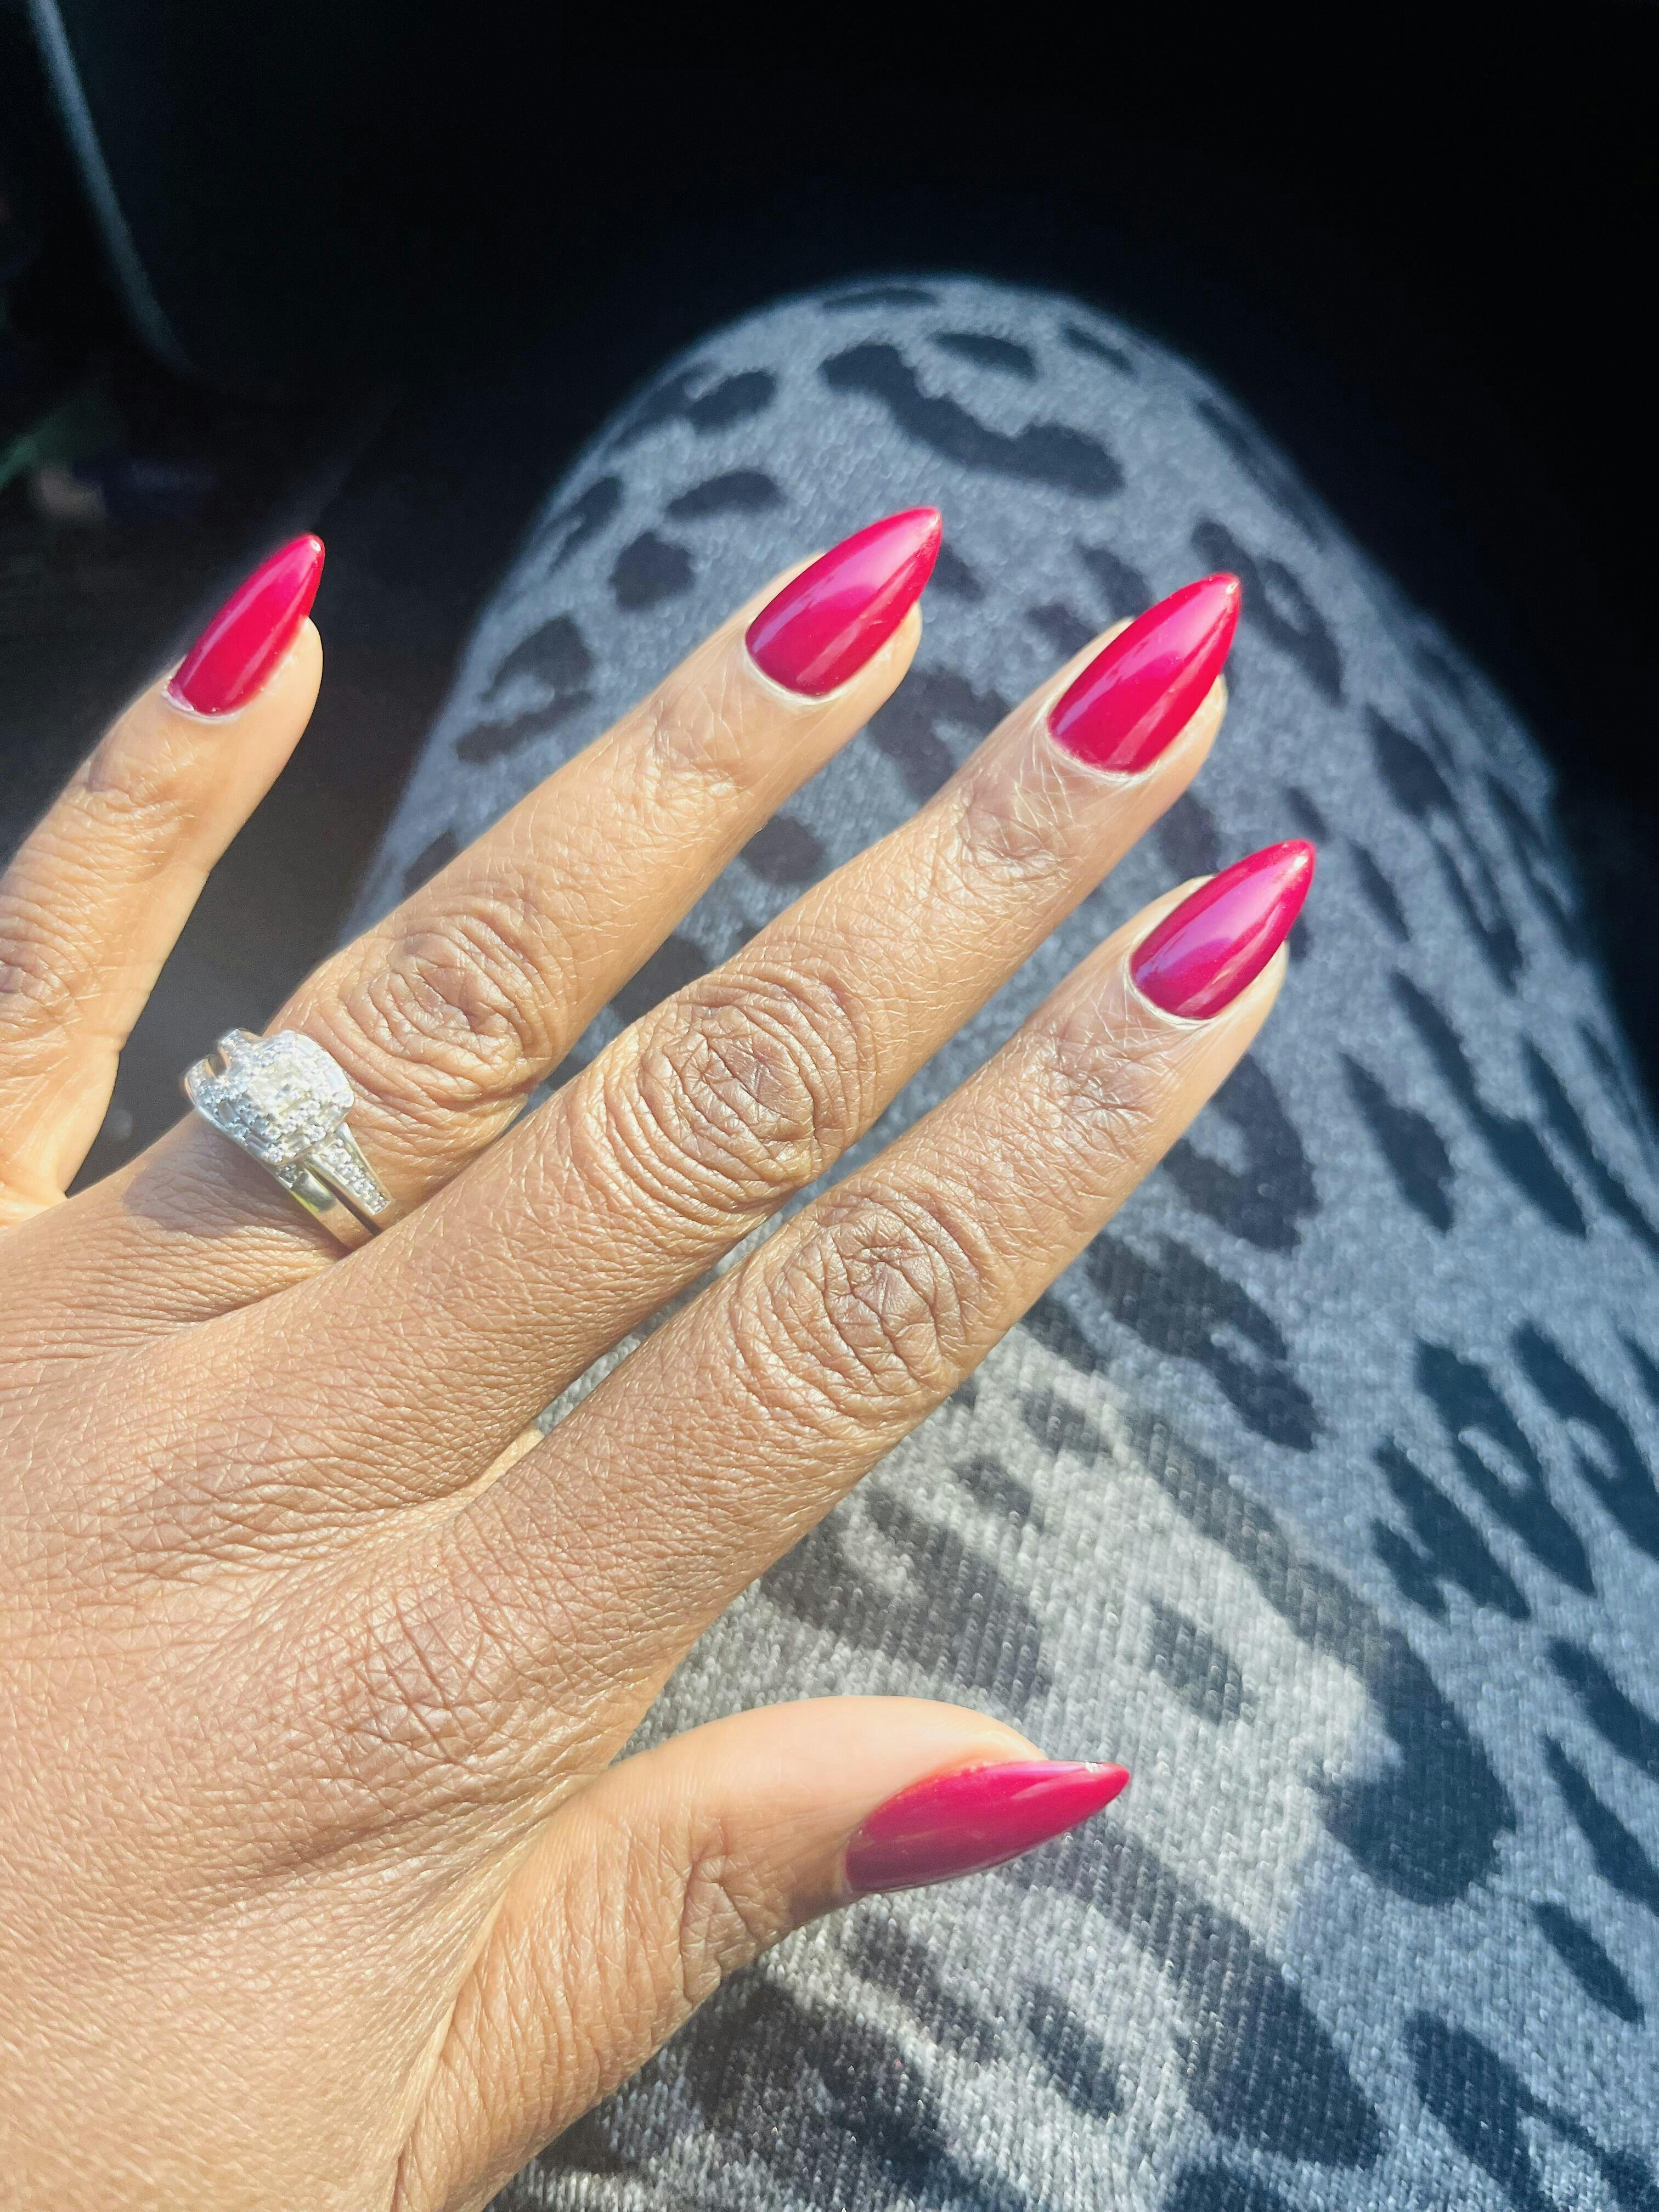
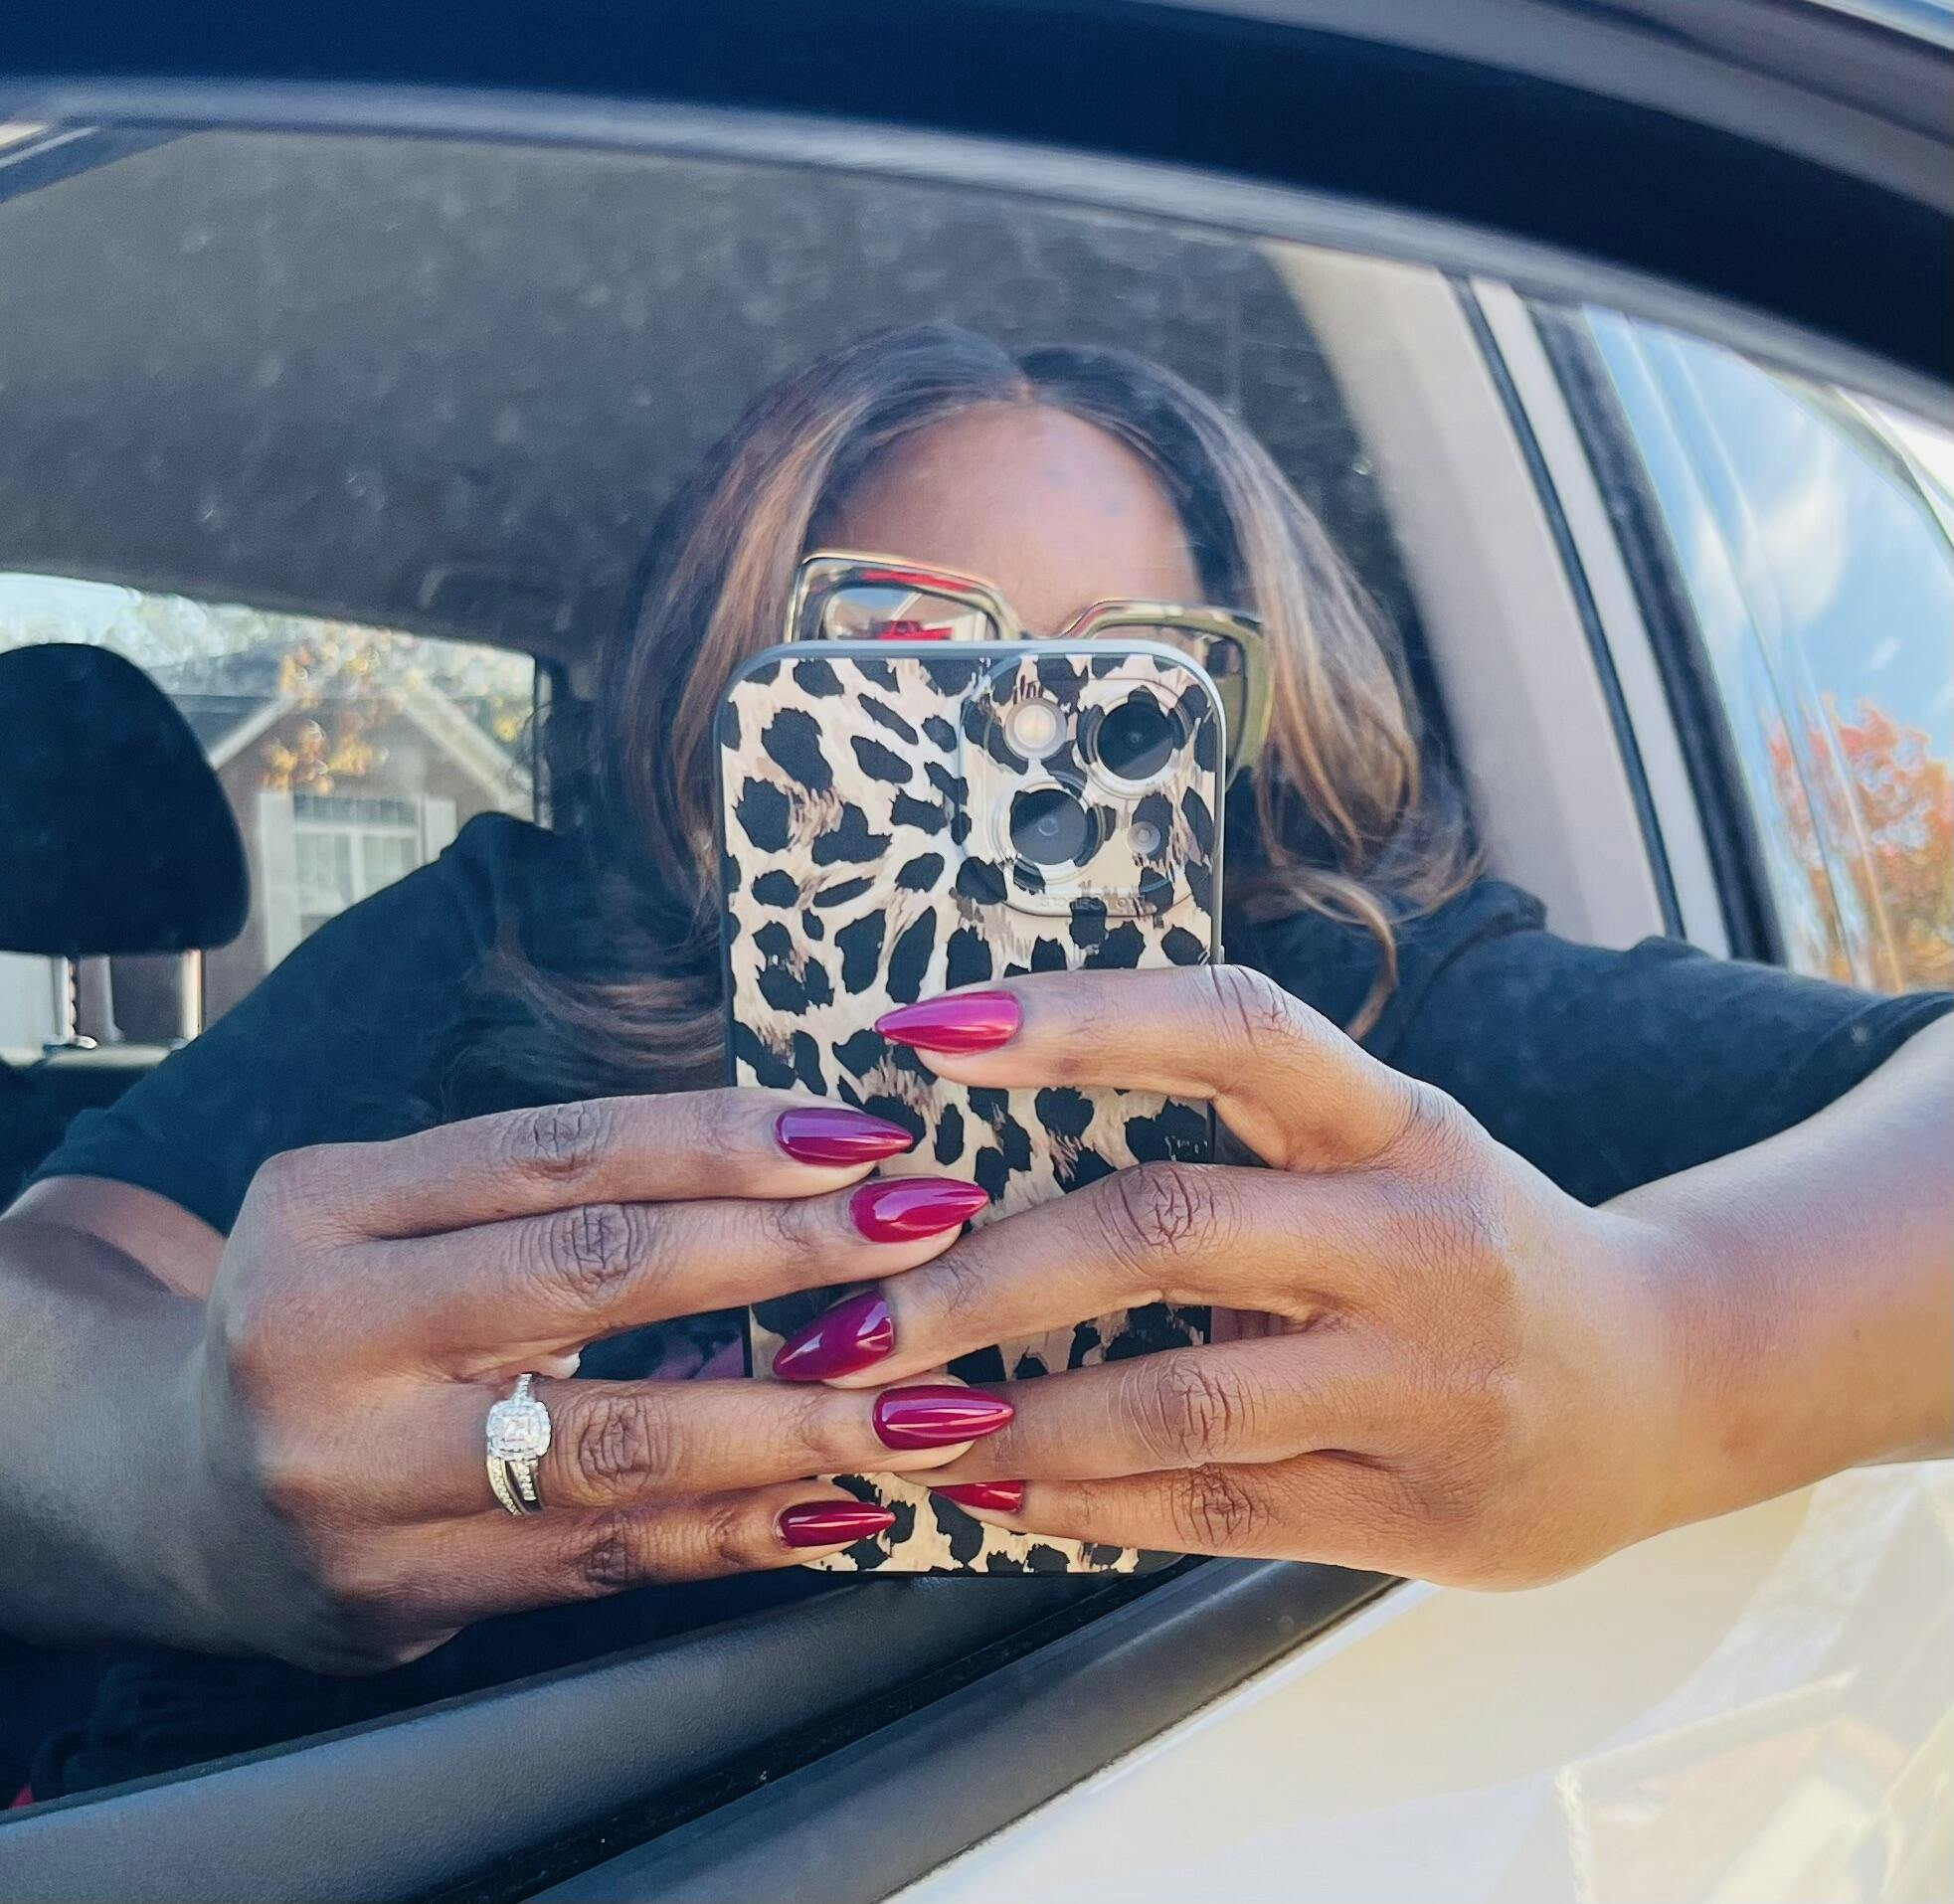
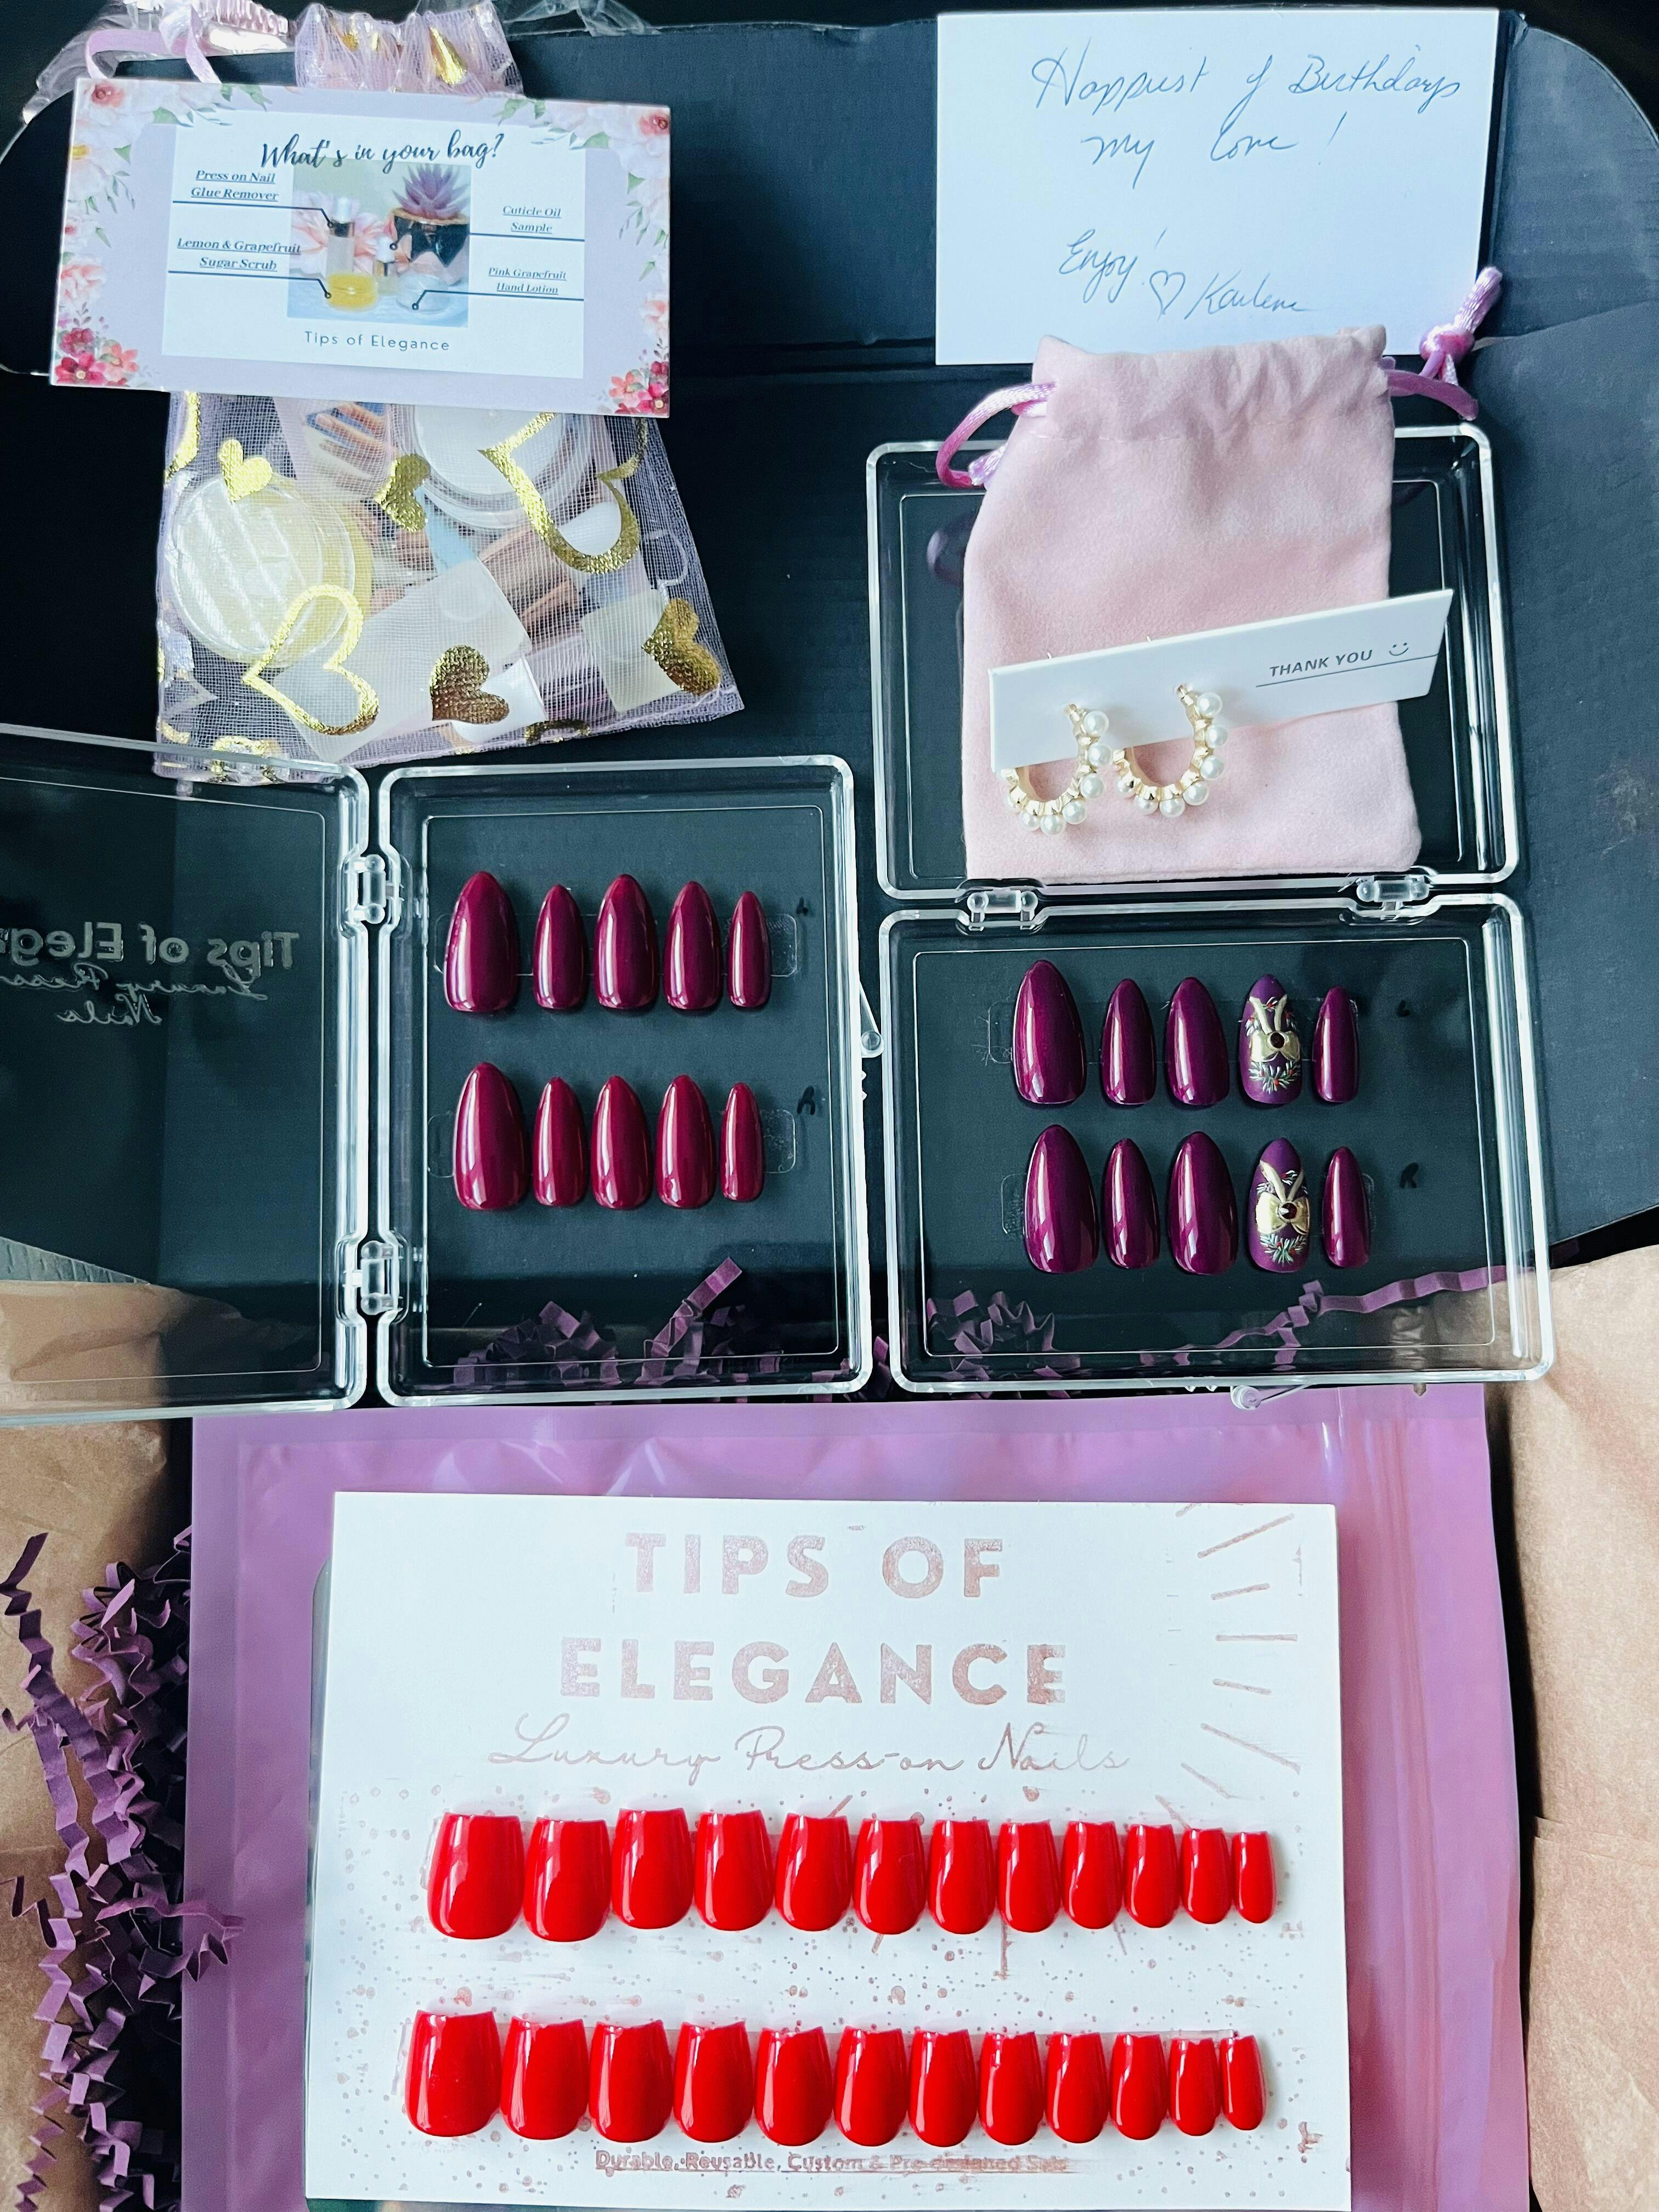
My birthday nails were exactly what I asked for and more!!! The consultation beforehand was very professional and Karlene was so kind and accommodating. She even ordered the exact color I asked for!! The turnaround time was quick and the packaging was phenomenal!! She provided all the tools and products I needed to apply my beautiful nails sets!!! My nails were sturdy and lasted 3 weeks and could have gone longer! I am so impressed and will definitely continue to be a faithful customer!!


My birthday nails were exactly what I asked for and more!!! The consultation beforehand was very professional and Karlene was so kind and accommodating. She even ordered the exact color I asked for!! The turnaround time was quick and the packaging was phenomenal!! She provided all the tools and products I needed to apply my beautiful nails sets!!! My nails were sturdy and lasted 3 weeks and could have gone longer! I am so impressed and will definitely continue to be a faithful customer!!

I love working with tipsofelegance !! She is so nice and lovely to work with
I highly recommend her 💙
You won’t ever regret
I recommend this subscription service for a girl who needs ready-to-go seasonal nails at an affordable price point! I love the surprise element, the custom fit, and the variety of color that comes in my boxes. I have experience with other brands and Tips of Elegance exceeds my standards every time with nails that last weeks and don’t feel flimsy! I also love that you can get personalized guidance with sizing and application if you’re new to custom press ons. 10/10 recommend!!
I can't wait to wear these in the summer😍


